Podcasting Tips: Using Software to Make Your Podcast Sound Better - EQ Part 2
There is no reason your podcast can't sound as professional as shows with dedicated studios and $2000 microphones. Well, your podcast might not sound that good. But, it won't take much to take your podcast from sounding like something you put together at your kitchen table to something that sounds professional. In this series, I have been sharing some of the ways software can help with this.
In the last post, we looked at the different kinds of equalizers (EQs). Below, I will take a closer look at different frequency ranges and how you can adjust settings to fix common problems that many podcasters face and enhance the sound of your voice and podcast.
Use Your Ears
Before we jump in, here is something to remember. Just like with all the other effects I have written about in this series, your ears are your most important tool. Listen carefully to any changes you make. If it doesn't sound better or if it sounds worse, undo it and try again!
Also remember, while equalization is math and science, the process itself is more of an art. I am offering frequency ranges and suggestions. However, every voice and studio is different. These are guidelines to get you started but, in the end, your vocals should sound great.
It is also recommended that you start by cutting, not by boosting. It is better to reduce audio data we don't need instead or raising the overall level and leaving the unnecessary sounds in the mix.
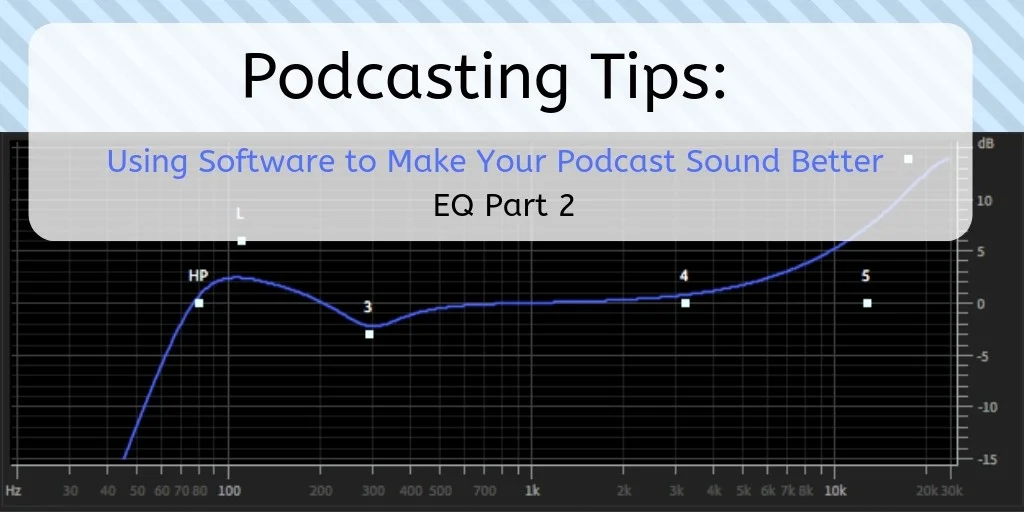
Let's start at lower frequencies on the spectrum and work our way up. The lowest frequencies are on the left side of the equalizer and move higher as we move to the right.
Podcast EQ: Below 80 Hz
There is not a whole lot to hear down here when it comes to the human voice. If you are trying to add more bass to your voice, this won't likely work. Instead, reducing these frequencies will get rid of some unnecessary signal and clean up the recording. This is also where you may hear some audio unpleasantries like plosives (popping p’s and other mouth noises), mic adjustments, bumps, and even the occasional rumble from an HVAC system.
Podcast EQ: 100 Hz – 300 Hz
Once you have moved up past the 80 Hz range, the sounds become more critical. At this point, we are still in the low range and this where the bass and sometimes boominess lives. This is where your ears start to become significant. If the bass and/or boominess of the voice is reducing clarity, some minor cuts of gain in these frequencies will help. On the other hand, if the voice sounds too thin a slight boost at the right point in this range can add some thickness and presence. It takes small changes and experimentation to get this just right.
Podcast EQ: 300 – 400 Hz
As we move up towards the midrange, this is a range that makes a big difference in sound quality. Broadly, 300 Hz all the way up to 1 kHz is an area that we might hear some of the defects of the recording space. This is where some of the room reflections – echo or reverb – might be heard. If you are looking for a more professional "studio sound" a minor reduction somewhere in here might do the trick.
More specifically, look at the 300 – 400 Hz range to remove any muddiness from the recording. Try some minor reductions in this area to get rid of the mud and make the vocals sound more clear.
Podcast EQ: 2 – 5 kHz
For the most part, unless you have some particular recording issue, frequencies from around 400 Hz all the way up to 2 kHz can remain flat. Once you reach 2 kHz all the way up to about 4 kHz, you are in an area that can improve clarity and warmth.
If reductions in the 300 – 400 Hz range left some muddiness and you are looking for more clarity, try some minor boosting in this frequency range.
Podcast EQ: 4 – 7 kHz
If there is a lot of sibilance in your recording, this is the area you should experiment with. Sibilance is the unpleasant sound that comes from our voice's "s" sounds. If, instead of pleasant sounding s's, z's, and even sh's, try some minor narrow cutting in this range.
Chances are the sibilance is in a very narrow frequency range. It can help to boost bands in this area one by one until you find the one where the sibilance lives. Just find the range where it really becomes pronounced and then try reducing that band.
If that doesn't work or it takes away any clarity, you might try using a DeEsser plugin.
Stick With It and Keep Listening
That's it for now. Audio engineers spend their entire careers mastering EQ. Where I went to college, we had a whole audio engineering department, and they spend endless hours listening and adjusting to become EQ masters. You aren't going to get there overnight. Fortunately, you are likely dealing with one or two voices (maybe more if you have a lot of guests.) Once you find the perfect balance, you can save it as a preset and not need to do this work every time. However, do yourself a favor and review your settings every once in a while. You will find that your ears have become more sensitive and you might hear more room for improvement. Also, if you make any changes to your studio like your microphone, microphone placement, sound conditioning, etc., go back and give it another review.
If you need help or you just don’t have the time to make your podcast sound great, I would be glad to help!
Pro Voice Guy Studios now offers full podcast production.
Also, coming soon, all sorts of podcast technical coaching options. From guidance in purchasing and setting up equipment to Audition and Audacity templates tuned to your podcast. Those will be available soon. Just can’t wait? Drop me an email.


